 Are you looking for a fun way to stay cool when the temps are scorching outside? Give ice painting a try! This is a great craft for kids and adults to try together, and you probably have the supplies already in your home.
Materials
Paper cups, ice cube trays or ice pop molds
Washable paint
Water
Drinking straws, plasticware or popsicle sticks for “handles”
Muffin tin
Paper or sidewalk for drawing on
Directions
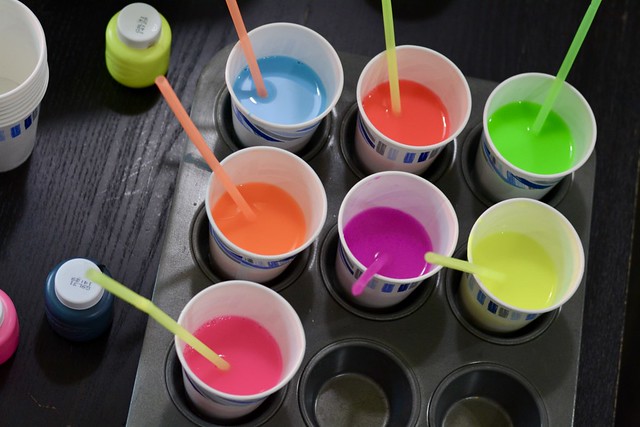
Step 1: Mix 1 part washable paint with 2 parts water in a paper cup, ice cube tray or ice pop mold and stir well.
Step 2: Insert a straw, popsicle stick or plastic utensil inside the container to use as a handle.
Step 3: Repeat the first two steps with several colors to create your palette.
Step 4: Freeze containers until the ice paints are solid. This may take several hours, so prepare young children for this waiting game by engaging them in another activity!
Step 5: Run the containers under warm water for a few seconds to “release” the ice paints, and move each paint color to a separate section of a muffin tin or cookie sheet.

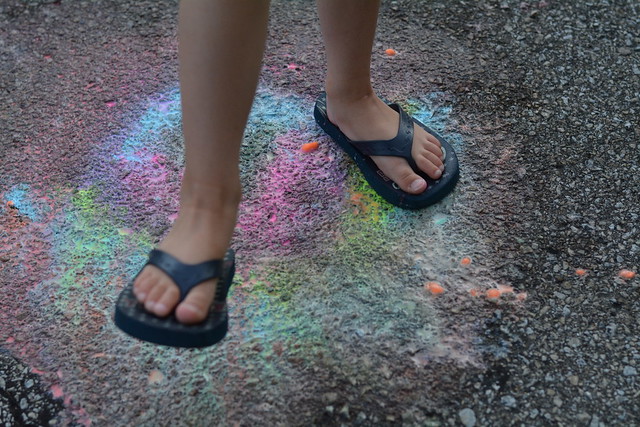
While you can ice paint indoors, the colors melt fastest when used outside in the summer heat! Find a flat surface, and pick up the colorful ice cubes by their handle. Paint on paper, the sidewalk, driveway, or even your body. Just be sure the keep the hose nearby to rinse off hands and feet before returning indoors!

Toward the end of the ice painting experiment, your kids may enjoy
smashing the remaining ice chunks onto the pavement and stomping them in
a colorful work of art for the neighbors to admire.
Have you tried ice painting?